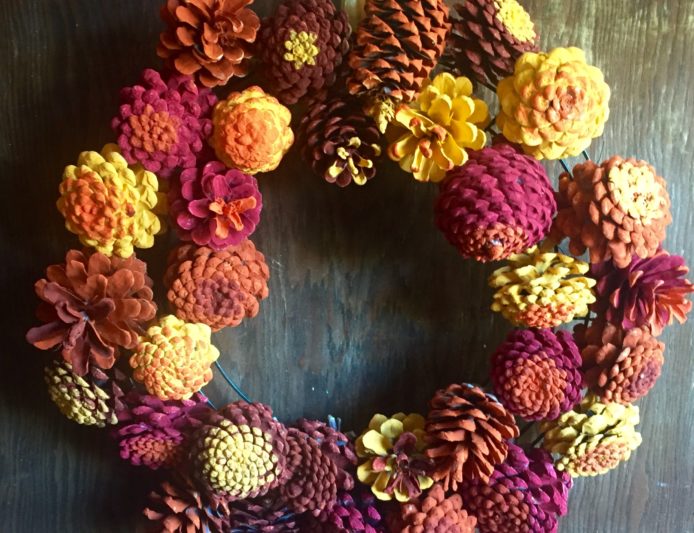
Does the idea of creating crafts with nature transport you to a calm, serene place? We’ve got a wreath for ya.
The beauty of this craft is that you can use free pieces of nature from right outside your door and turn it into this positively gorgeous wreath. If you live in a place where pinecones are not a thing (awww), then its craft store to the rescue for you.
Either way, you can turn these pinecones into an abundance of flowers for a festive fall touch that will last you through Thanksgiving.
Level of difficulty: Intermediate
Hands on time: 2 hours
Dry time: 4 hrs
What you’ll need:
Pinecones (30-35)
12 inch wire wreath
Floral wire
Wire cutters
White spray paint
Acrylic paint in fall colors
Paintbrush
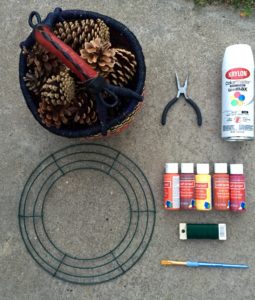
Pro tip: Put the pinecones in a a cardboard box (not pictured above) when dusting with spray paint. Use additional boxes to store the pinecones after painting with acrylics.
Let’s make it!
Step 1


Dump your pinecones in a cardboard box and lightly dust them with white spray paint. They do not need to be completely covered, some brown showing is great for the rustic look. Shake box, spray again, repeat until pinecones are uniformly dusted with white spray paint. Let dry.
Step 2

Paint your white pinecones fall colors. (We chose orange, yellow, and magenta.) Again, no need for full coverage — let the pinecones natural hues peek through!
Step 3

I lined my pinecones up in a shoe (ok, boot) box to dry. Acrylic dries fairly quickly so by the time I was finished painting them I could go back and add the “flower” touches starting with the first pinecones I painted.
Pro tip: if you have freshly manicured nails, wear gloves! Or be prepared to have what I like to call fall foliage fingernails
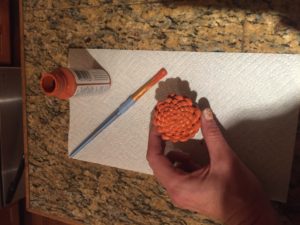
Step 4


When painting the details or centers of the flowers, you just need a little paint on the brush. Lightly brush the paint on to accentuate the texture of the pine cones. I got creative with applying the second color and found that the less circular the centers were the more fun and natural the flowers (formerly pinecones but we can now call them flowers) looked!
Step 5


Once the flowers are dry (third time, I know!) you can begin attaching them to the wreath. It’s easiest to place the flower where you like it and then flip the wreath and pinecone upside down. Wrap some floral wire around the bottom half of the flower and then attach by twisting it around the wire wreath. Flip the wreath right side up, place your next flower and then repeat flipping and securing with wire until you have a full autumn flower (formerly pinecone) wreath. Hang using a pretty ribbon, wreath hanger or hook!

Pro tip: Wrap some of the flowers around one rung of the wreath and the others around two rungs (shown above) for extra sturdiness.